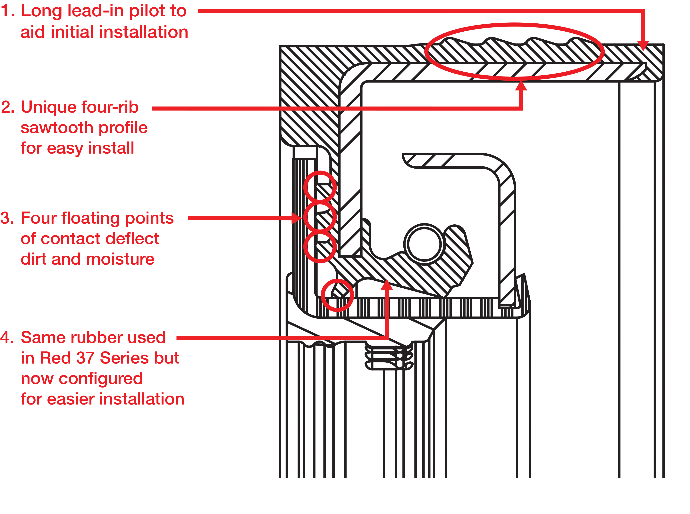
National® Red 375 Series Wheel End Seals

After placing the wheel hub assembly flat or at a 45 degree angle:
1. Inspect the hub and ensure it is free of dirt, rust, sharp edges and scratches. Cleaning the hub ID with an emery cloth is highly recommended.
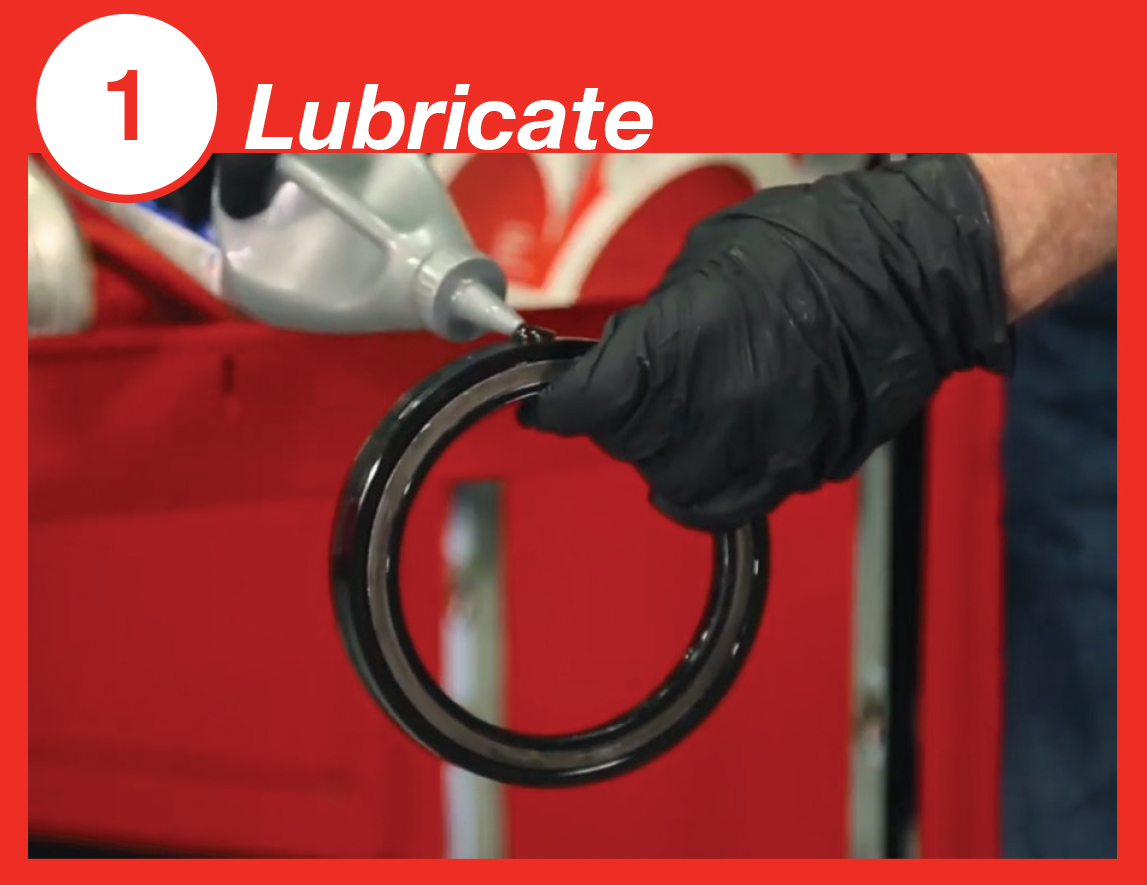
2. Evenly spread the bearing lube over the seal O.D. and I.D. Also be sure to apply a layer of lubricant on the inside of the bore, where the seal will be pressed into place. The seal should never be installed dry.
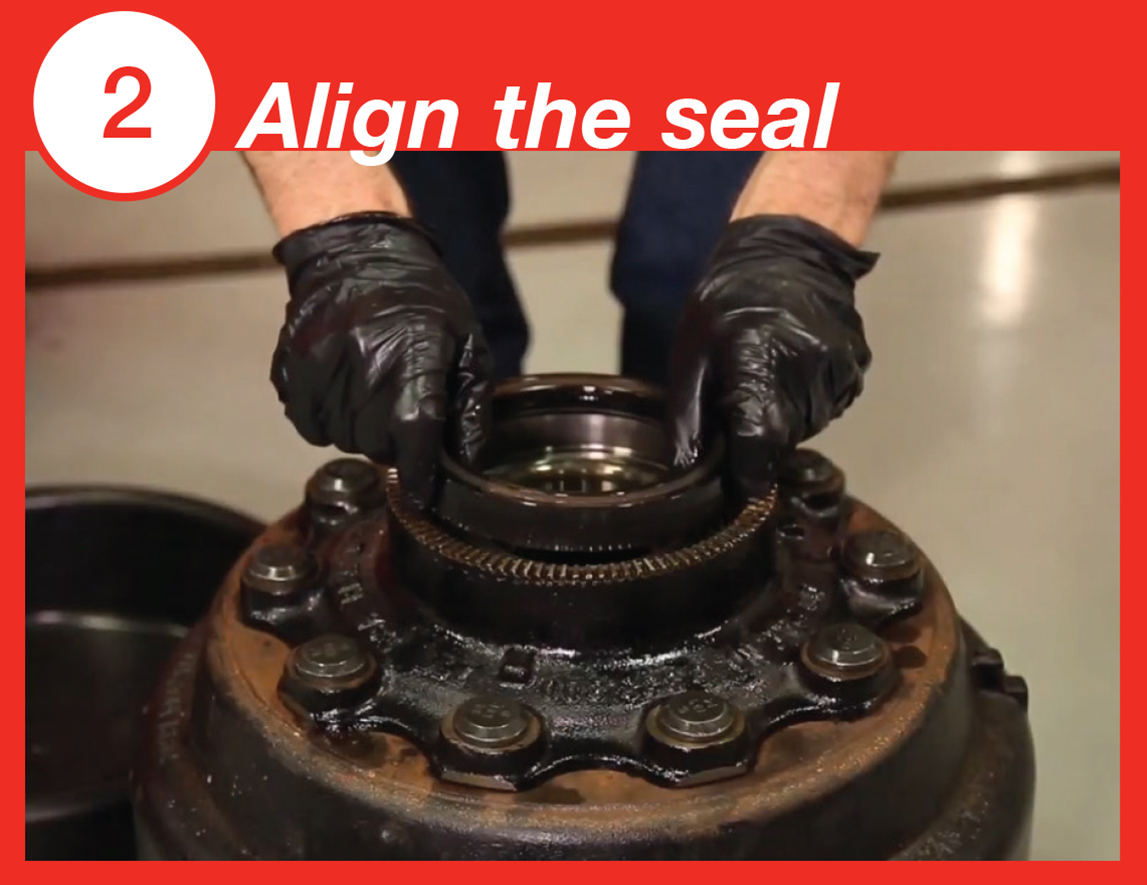
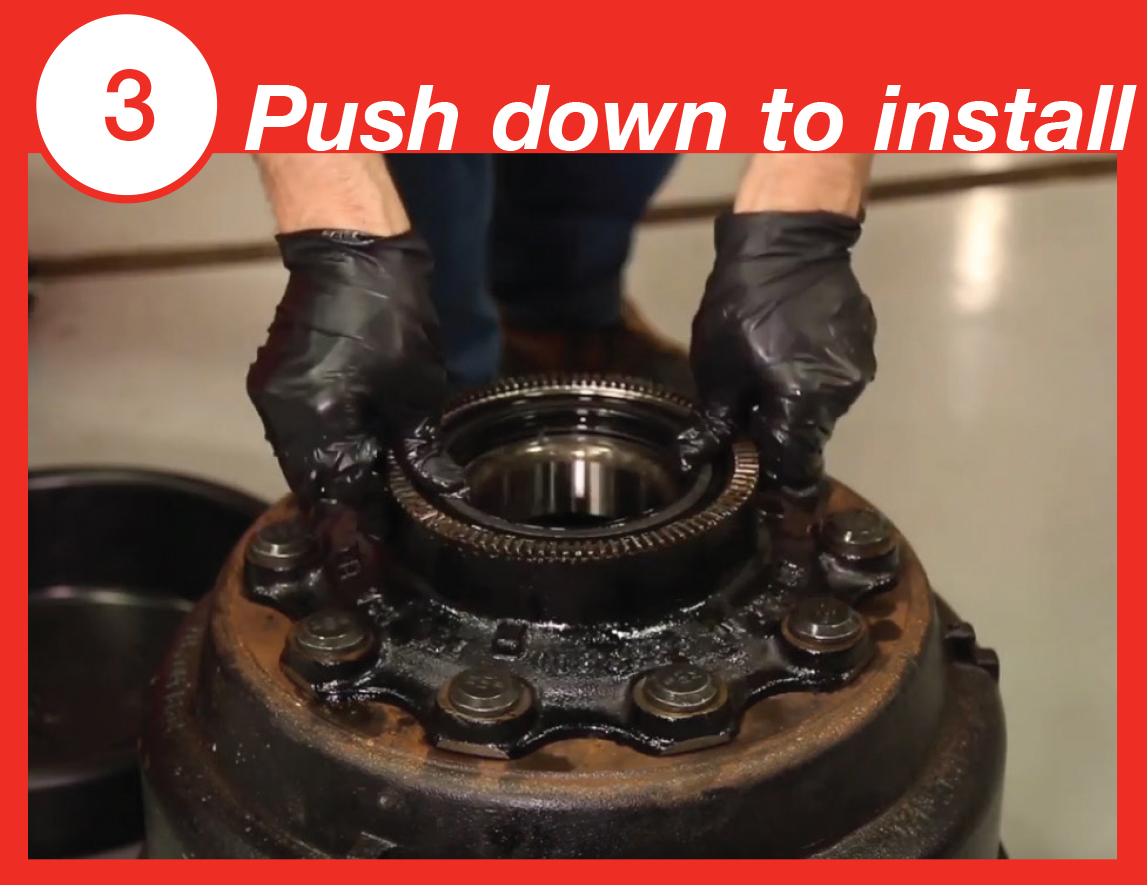
3. Position the seal on top of the bore and press down evenly with both hands. A rubber mallet may be used to lightly tap the seal until the seal is positioned squarely in the bore and bottomed out.
4. Allow the seal to sit in the bore for at least 5 minutes before mounting the hub assembly on the spindle. Wipe off any excess oil after the seal is installed.
CAUTION: Do not install the National® seal directly onto the spindle. Replace the seal if it is damaged or cocked during or after installation. If the surface finish is excessively rough, then a tool may be required to install.


